How to Configure DHCP Server on Windows Server 2019 – Complete Guide
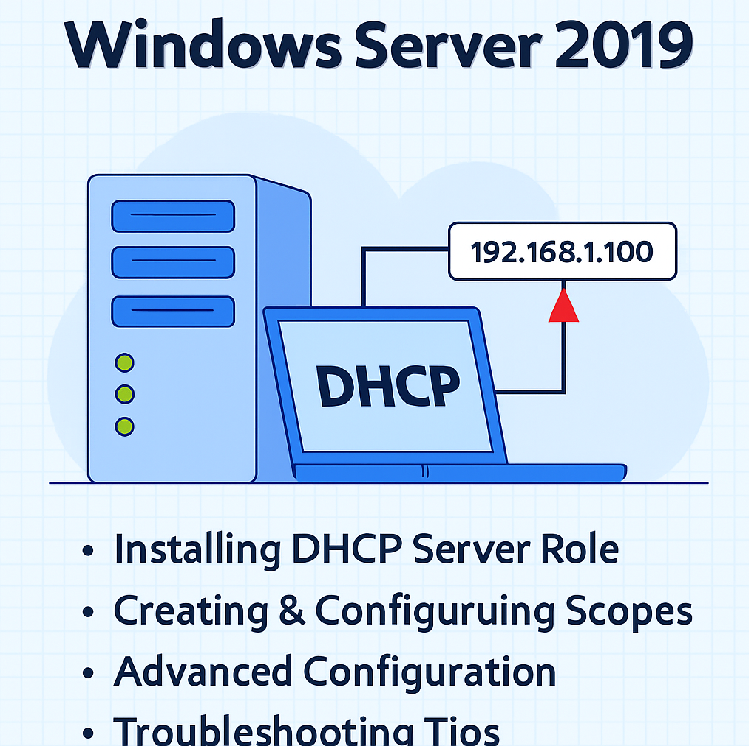
The Dynamic Host Configuration Protocol (DHCP) is one of the most important network services for automating IP address allocation. Without DHCP, network administrators would need to manually assign IP addresses to every single device, a process that is time-consuming and prone to human error. In this comprehensive guide, we will walk through installing, configuring, and managing DHCP on Windows Server 2019 step-by-step, along with advanced optimization and troubleshooting tips.
What is DHCP?
DHCP is a client/server protocol that automatically assigns IP addresses, subnet masks, gateways, and other network parameters to devices (clients) on a network. The DHCP server maintains a pool of available IP addresses and assigns them to devices as they connect. This automation ensures consistent and error-free network configurations.
Key Benefits of DHCP
- Automated IP assignment reduces administrative workload.
- Minimizes configuration errors compared to manual IP settings.
- Supports large-scale networks efficiently.
- Allows easy reconfiguration of network parameters.
- Centralized management of IP allocation.
Understanding DHCP Workflow
When a client connects to a network and requests an IP address, the following steps occur:
- DHCP Discover: The client broadcasts a request for an IP address.
- DHCP Offer: The server responds with an available IP address offer.
- DHCP Request: The client requests to use the offered IP address.
- DHCP Acknowledge: The server confirms and leases the IP to the client.
Prerequisites Before Installation
- Windows Server 2019 installed and configured.
- Administrator privileges.
- Static IP address configured on the server.
- Basic understanding of IP addressing and subnetting.
Step 1: Installing the DHCP Server Role
Follow these steps to add the DHCP Server role:
- Open Server Manager from the Start menu.
- Click Manage → Add Roles and Features.
- Select Role-based or feature-based installation.
- Choose your server from the list and click Next.
- Check DHCP Server under Server Roles.
- Click Next until the Install button is available.
- Click Install and wait for the installation to complete.
Step 2: Completing Post-Deployment Configuration
Once the DHCP Server role is installed, you need to complete its configuration:
- In Server Manager, click the notification flag.
- Click Complete DHCP Configuration.
- Authorize the DHCP server in Active Directory (required in domain environments).
- Confirm configuration summary and click Close.
Step 3: Creating and Configuring a DHCP Scope
A DHCP scope defines the range of IP addresses that the server can assign to clients.
- Press Windows + R, type
dhcpmgmt.msc, and hit Enter. - Expand your server name, right-click IPv4, and choose New Scope.
- Enter a descriptive name for the scope (e.g., Office LAN).
- Set the IP address range (e.g., 192.168.1.100 to 192.168.1.200).
- Define the subnet mask (e.g., 255.255.255.0).
- Specify any exclusions for devices requiring static IPs.
- Configure lease duration (default: 8 days).
- Add default gateway, DNS servers, and domain name.
- Finish the wizard and activate the scope.
Step 4: Verifying DHCP Functionality
To confirm your DHCP server is working:
- Connect a client device to the network.
- Set the network adapter to obtain an IP address automatically.
- Open Command Prompt and type
ipconfig /releasefollowed byipconfig /renew. - Check that the client receives an IP address from your configured scope.
Advanced DHCP Configuration
- DHCP Reservations: Assign a fixed IP to a device based on its MAC address.
- DHCP Options: Distribute additional settings like WINS, NTP, or PXE boot configurations.
- DHCP Failover: Configure a secondary DHCP server for high availability.
Troubleshooting Common DHCP Issues
- No IP Assigned: Check if the scope is active and has available IPs.
- IP Conflict: Review exclusions and reservations.
- Scope Exhausted: Increase range or reduce lease time.
- Unauthorized Server: Ensure the DHCP server is authorized in Active Directory.
Security Best Practices
- Limit DHCP server access to trusted admins.
- Enable audit logging to monitor address leases.
- Use DHCP snooping on managed switches to block rogue servers.
Conclusion
Configuring DHCP on Windows Server 2019 streamlines network management, reduces errors, and improves efficiency. By following the steps in this guide, network administrators can deploy a fully functional DHCP server with best practices for reliability and security.


