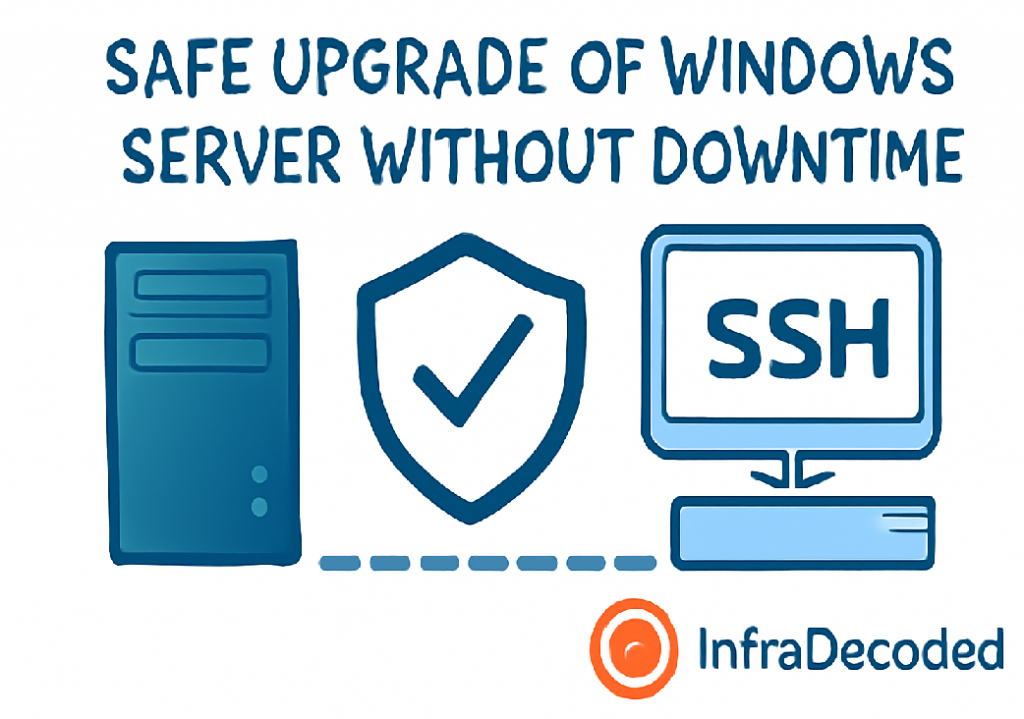
Mastering Windows Server Updates: Minimize Downtime and Prevent Surprises
Regular updates keep Windows Servers secure and reliable—but haphazard patching causes downtime, failed logins, and unhappy users. Here’s how I plan and execute Windows Server updates with zero drama, based on years of managing enterprise and SMB infrastructure.
Use this checklist for your next maintenance window—avoid the Friday night surprises!
Table of Contents
- Assess and Plan Updates
- Take Essential Backups
- Schedule Maintenance and Notify Users
- Apply Updates like a Pro
- Controlled Reboots and Post-Update Tests
- How to Rollback if Needed
- Pro Tips & Automation
- Summary & Next Steps
1. Assess and Plan Updates
-
Check OS Version & Roles:
winver
Get-WindowsFeature | Where-Object {$_.Installed -eq $true}Document all active roles (AD, DNS, IIS, RDP, etc.).
- Read Microsoft’s Release Notes: For Patch Tuesday or any major Windows update, review the official KBs and known issues.
- Pick a Maintenance Window: Avoid active business or backup hours.
2. Take Essential Backups
-
Full System Image:
windows backup utility (wbadmin)
wbadmin start backup -backupTarget:D: -include:C: -
Export Application Data:
– Active Directory:ntdsutil
– IIS: Export all site configs
– SQL/Exchange: Use native export or snapshot/backup tools. -
Check VSS Shadows:
vssadmin list shadows
Confirm backups are recent and complete.
3. Schedule Maintenance and Notify Users
- Email or Message Stakeholders: Give date/time with rollback/emergency contact info.
- Put Servers in Maintenance Mode: In RMM, RDP, or VMware, set pop-up banners if possible.
-
Pause Batch Jobs:
schtasks /Change /TN "TaskName" /Disable
Pause AV/AM scheduled scans if possible.
4. Apply Updates like a Pro
- Open Windows Update (Settings or via PowerShell):
-
Install-WindowsUpdate
(Use PSWindowsUpdate module for automation.)
- Apply All Security and Critical Updates First: Review optional/preview before deploying on production.
-
Monitor Update Log:
Get-WindowsUpdateLog
- Keep RDP session open in case of remote failure. Have local/iLO/iDRAC/KVM ready for remote access issues.
5. Controlled Reboots and Post-Update Tests
-
Graceful Reboot:
shutdown /r /t 5
Warn logged-in users before rebooting, if possible.
-
Check Event Logs:
Event Viewer > Windows Logs > System/Application
Validate “no warnings, no errors” in first post-update login.
-
Test All Services:
– Log in to all user-facing web apps, AD, RDP, etc.
– Ping critical endpoints from your RMM or a remote system.
6. How to Rollback if Needed
-
Uninstall Last Updates:
wusa /uninstall /kb:[updateID]
- Restore from Backup: Use VM snapshots or WBAdmin-based images.
- Document Root Cause: If you had to revert, note exactly why for future planning.
7. Pro Tips & Automation
- Use Group Policy or WSUS to centrally manage update schedules and prevent user prompt surprises.
- For critical, multi-server environments, stagger updates and use a “canary” server for early test deployment.
- Automate regular update checks and create “last backup” dashboards with scripts/Powershell/monitoring.
- Document all custom drivers—often the main cause of post-patch issues!
8. Summary & Next Steps
With this structured approach, you’ll keep your Windows Servers secure, reliable, and user-friendly without unplanned outages. Review logs, keep backups, automate the routine, and always plan for the unexpected.
Need level-up PowerShell scripts or run into a post-update error? Use my contact page—I’ll help you decode it!
Written by Anmol Ahuja, infraDecoded
Find more real-world Windows and IT tutorials at infraDecoded.com!